
It is 100% possible to import your DNS domain name into ENS. This simple guide will walk you through the entire process. Before you proceed you need to first own the DNS name you wish to import to ENS. For instance, I can import decentrapress.com to END because I already own the domain.
You’ll need an Ethereum account
To proceed, you need an Ethereum account and to open an Ethereum account you will need an Ethereum wallet.
Ethereum wallets are applications that allow you to interact with your Ethereum account. Think of it as your regular internet banking app – without the bank. Your wallet lets you read your balance, send transactions, and connect to applications. You need a wallet to send funds and manage your ETH. Your wallet is only a tool for managing your Ethereum account.
Your wallet lets you connect to any decentralized application using your Ethereum account. It’s like a login you can use across many dapps.
Below are some of the compatible wallets
- MyEtherWallet (Online and local browser)
- MetaMask (Firefox and Chrome browser extension)
- Parity (Desktop)
- Jaxx (iPhone and Android)
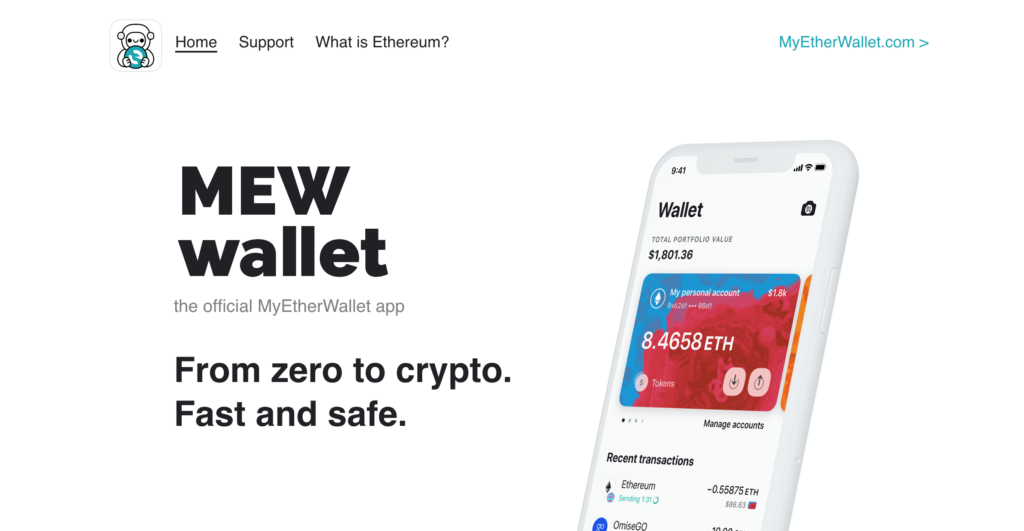
For the purpose of this article, we are going to be using MyEtherWallet you can use any compatible wallet of your choice, the steps are pretty much the same.
Go to : MyEtherWallet
Browse the site and click on create new wallet. You will see an option for creating a mewwallet on mewwallet.com click on it. You can download the app on Playstore or Apple Store. You can buy Ether right inside MEW wallet using your bank card or Apple Pay. You can also deploy smart contracts, earn interest, register ENS names and Interact with DApps
Setting your your wallet
Once you have the app, click on create a wallet. It will prompt you to create a pin. Create a unique 6 digit pin. Then click on start using the new wallet. It will bring up a prompt for you to back up your new wallet.. Click on backup now. Enter the pin you just created. You will be prompted with a screen that has your recovery phrase. Make sure you write this down on paper and resist the temptation to email it to yourself or screenshot it. Save your recovery phrase and verify it.
Congratulations you now have a wallet you can use to interact with the Ethereum blockchain. Remember, there is no way to retrieve your forgotten or lost private key and password; therefore, take all necessary safety measures suggested by the wallet provider.
ENS names, including DNS names imported to ENS, are owned and controlled by Ethereum accounts. To create and manage an Ethereum account, there are many Ethereum wallet providers to choose from.
You’ll need some ETH
For this process, no protocol fee is required to import your DNS names into ENS but the importation process still requires you to pay an Ethereum network gas fee in ETH. This is because the importation uses a lot of gas. The gas fee is pricey at the moment but you should endeavour to have a few hundred dollars worth of ETH in your wallet
Step 1: Connect your wallet to the ENS Manager App
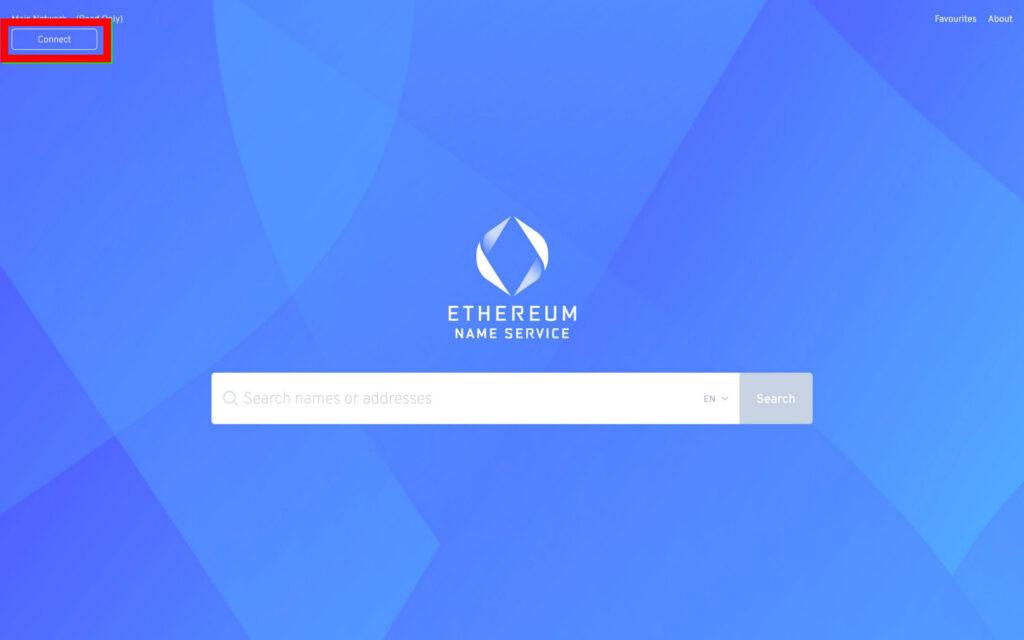
In your web browser, navigate to the ENS Manager App, app.ens.domains.
Click “Connect” on the upper-left part of the page, select the wallet, in this case the Mew wallet.
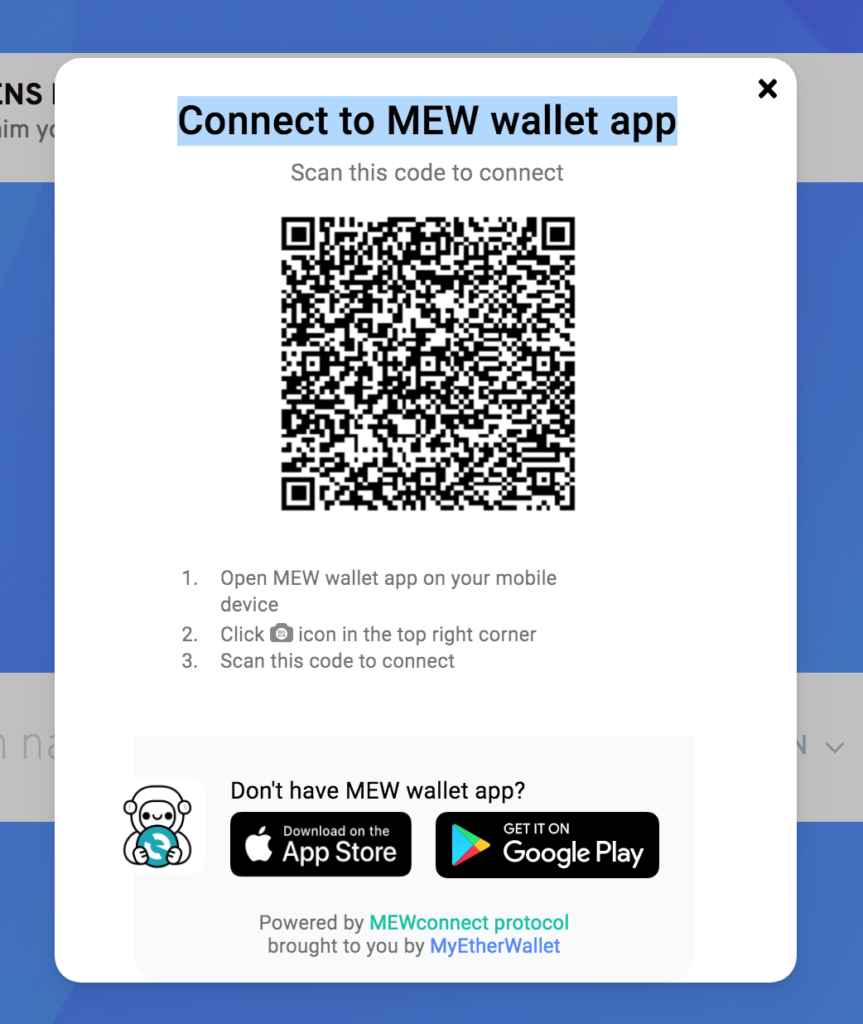
A dialogue box will open asking you to Connect to MEW wallet app
- Open MEW wallet app on your mobile device
- Click icon in the top right corner
- Scan the code to connect
Step 2: Find the name
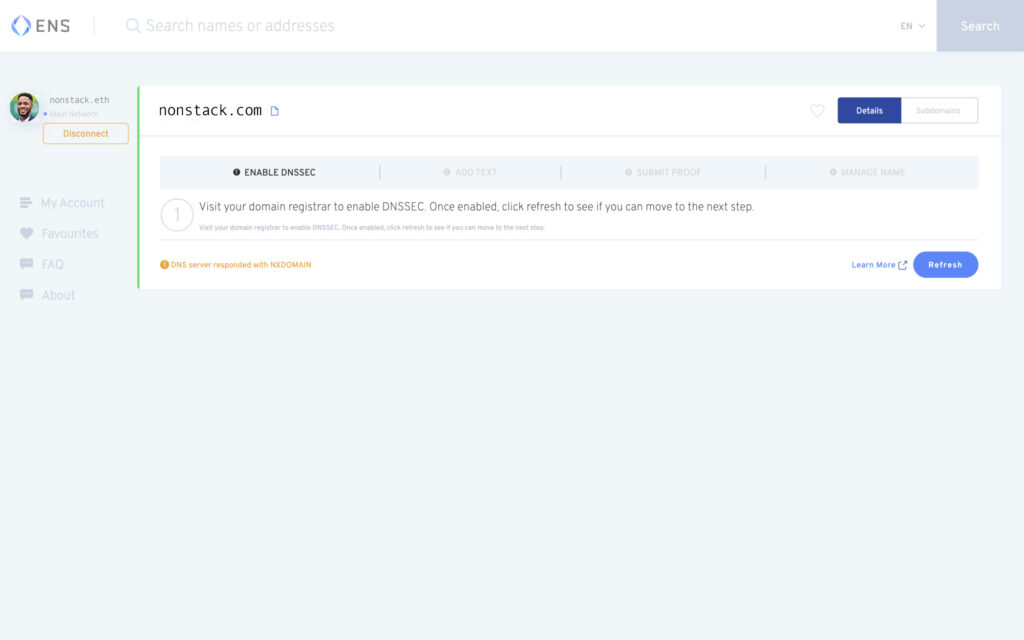
Type the DNS domain name you’d like to import into the ENS and click search. you will see a page that looks like the screenshot below. Keep this tab open – because you will be coming back to it
Step 3: Enable DNSSEC
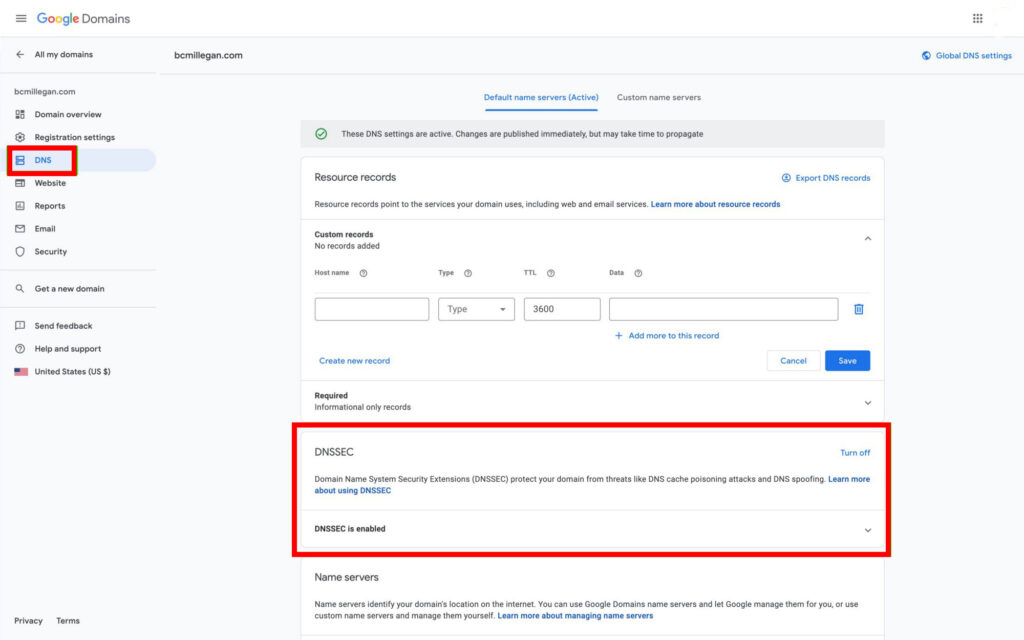
Go to DNS settings of the parent domain (Websites & Domains > go to the parent domain > DNS Settings). · Go to Websites & Domains > select a domain > DNSSEC and enable it, if not already enabled. This option is different for every domain registrar. If you are on Google Domains click on “DNS” in the menu on the left-hand side. By default, DNSSEC is usually enabled, if it is not please enable it
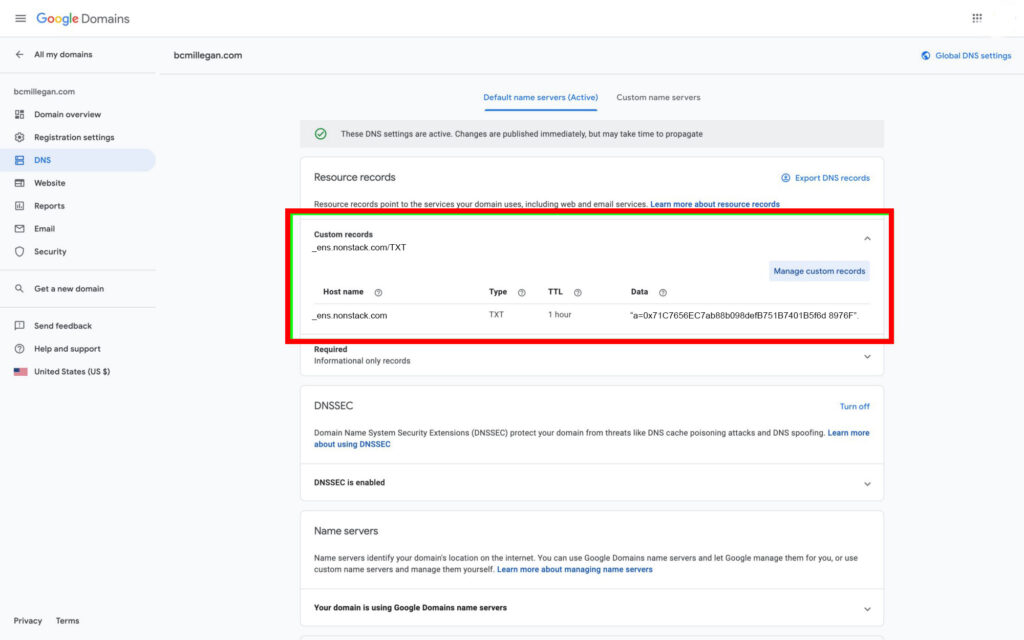
Step 4: Set TXT record
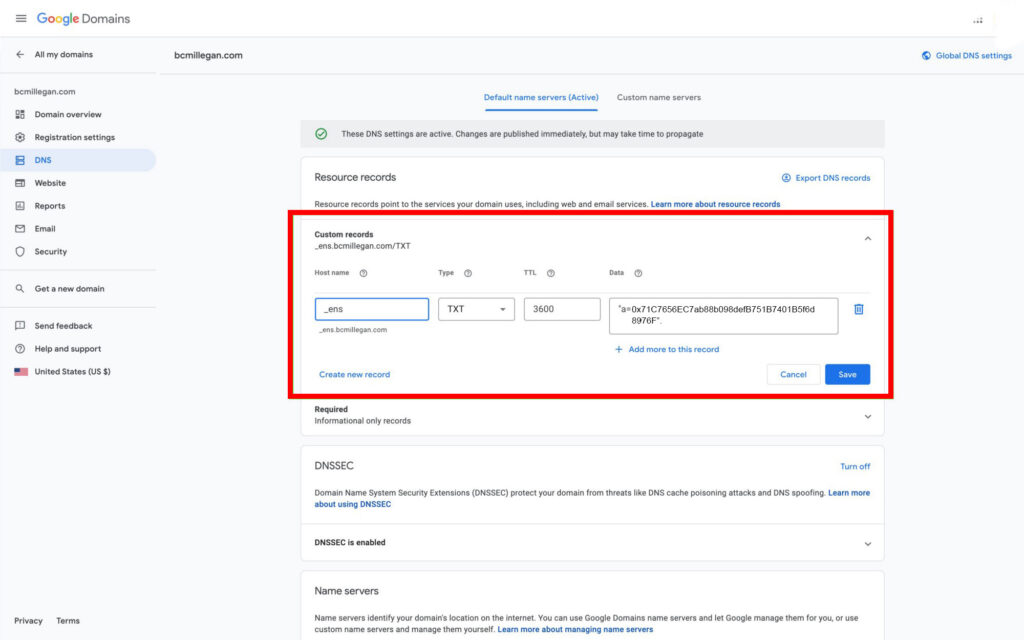
On the right side, you will find the custom record section, in the Hostname text box input ” _ens“. in the type text box input “TXT”. In the data text box input your [your Ethereum address] The Ethereum address you input should be the Ethereum address that controls your DNS name.
If you ever want to change which Ethereum account owns your DNS name on ENS, you will need to come back here and change the address in the data field.
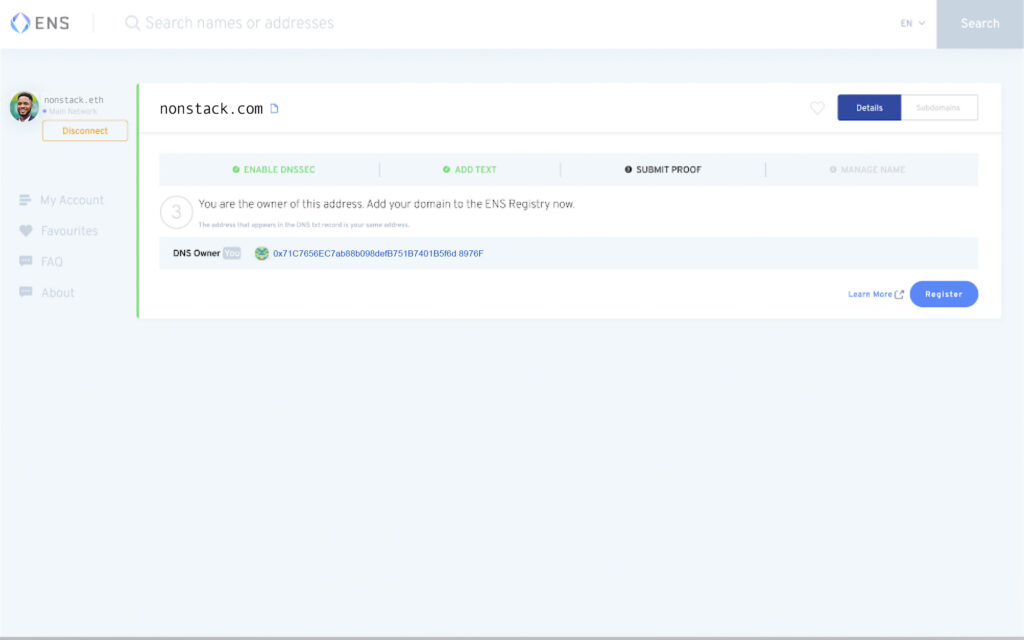
Step 5: Check back in the ENS Manager App
Go back to app.ens.domains and search for your DNS domain name again. When it comes up, check if the Enable DNSSEC and ADD text is highlighted in green with a checkmark close to them. If yes everything is set. Usually, you should give it some minutes to several hours to fully propagate.
Step 6: Register the name on ENS
Click on the Register button on the button right corner. If by chance the button is still greyed out when the “Enable DNSSEC” and “Add Text” have turned green – then you need to connect your wallet. To do this click on “connect” on the left-hand side of the page and follow the directions.
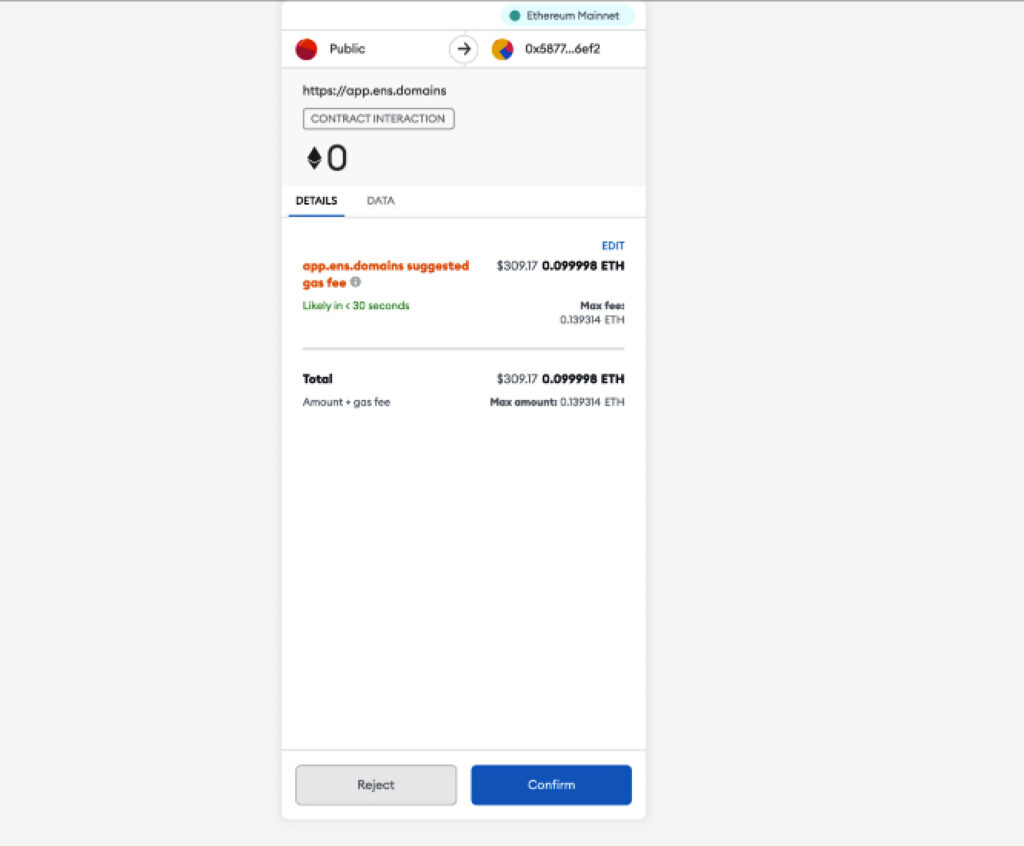
When you click the “Register” your wallet will ask you to confirm the transaction to import the DNS name into ENS, do remember that this process is not free – but please note there’s no protocol fee for using a DNS name on ENS. The cost incurred is entirely from the Ethereum network gas fees – and it is very high at the moment.
Once the name have been imported there’s no ongoing ENS fee. If you check and you can afford the gas fees shown to you, go ahead and click on “Confirm” to submit the transaction.
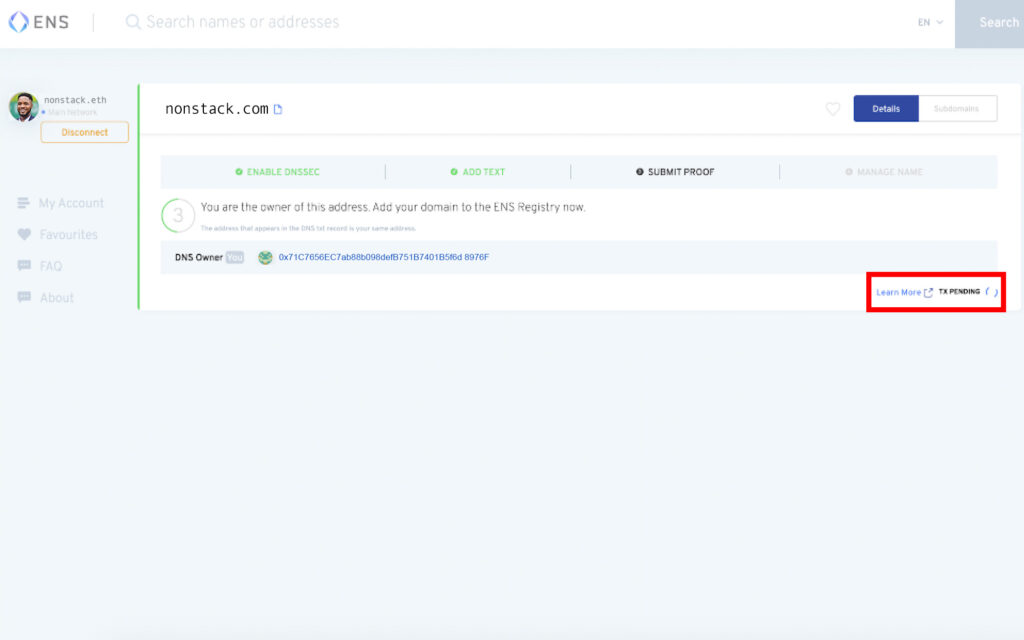
After the confirmation, it will take you to the ENS Manager and you might see “TX PENDING” on the bottom right. After a short time, you will see “Congratulations! You have successfully added this DNS domain to the ENS Registry. You now have your DNS name on ENS!
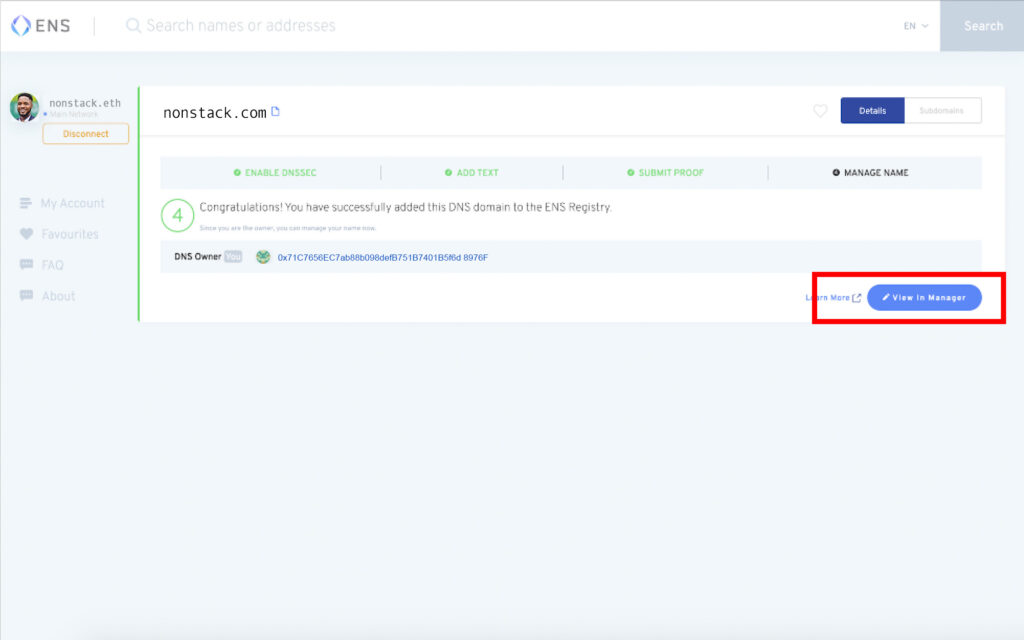
Step 7: Manage the Name
To manage the name click on the “View in Manager” on the bottom right. This will show you the ENS records for your name.
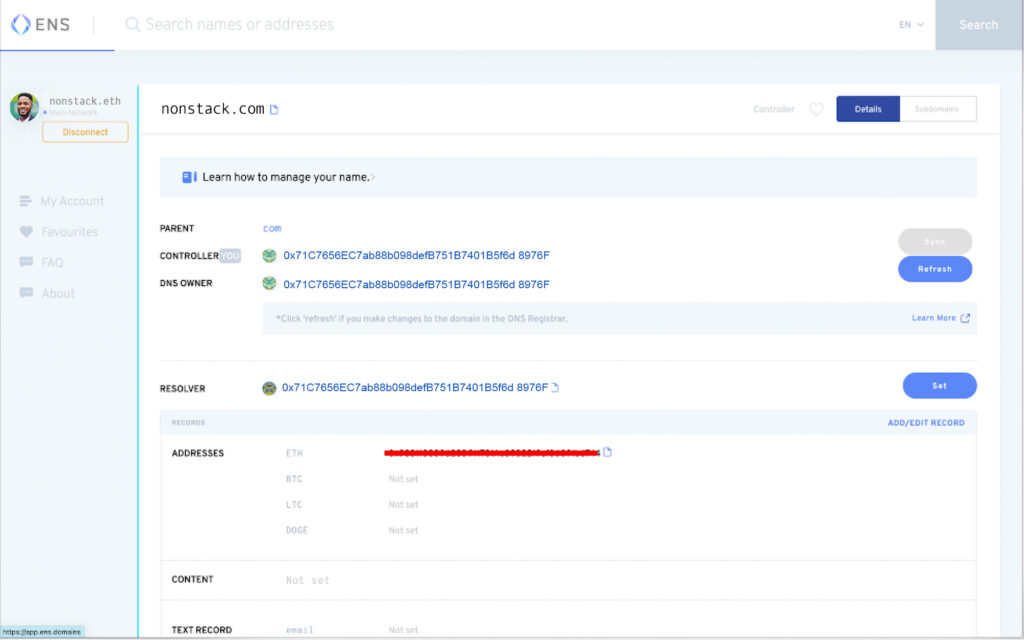
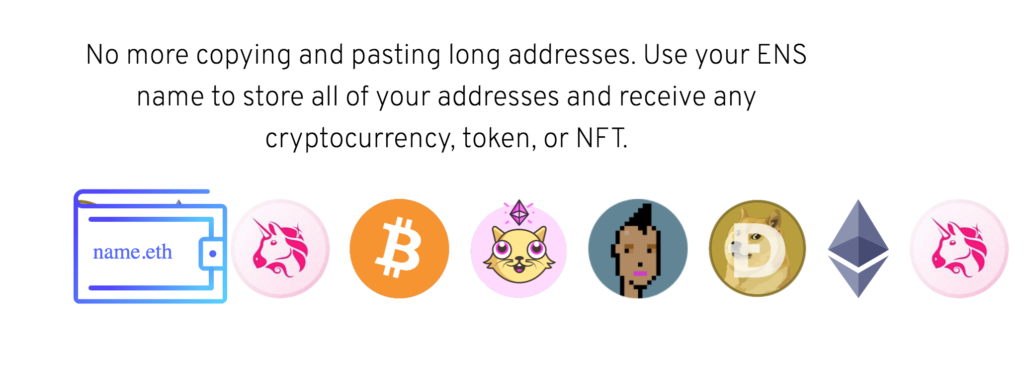
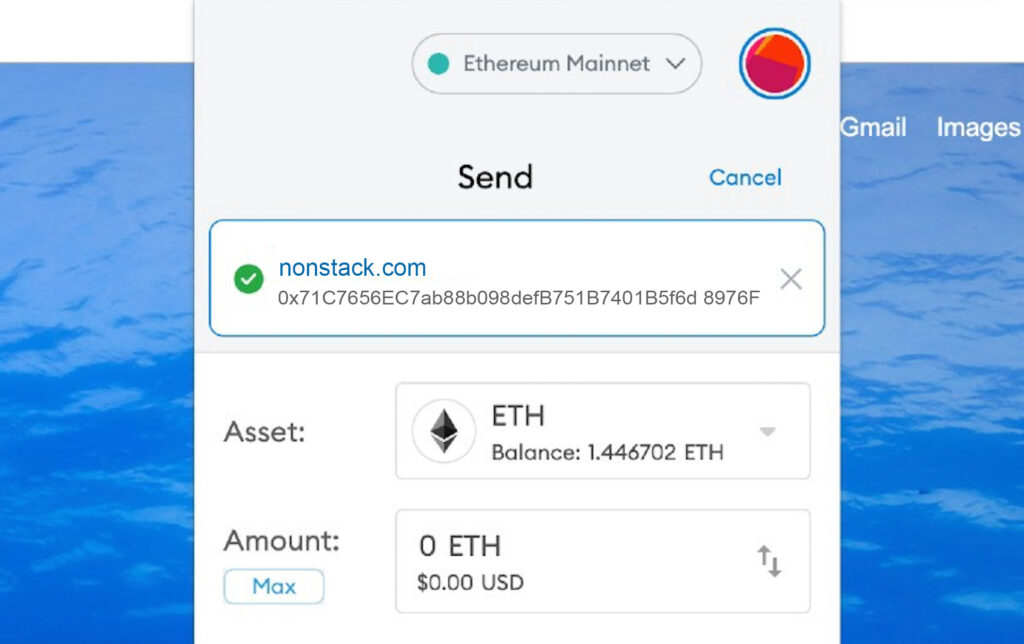
Automatically your ETH address record will be set up with your DNS name. This means you can start using your DNS name to receive ETH or any Ethereum-based token or NFT in supported wallets.
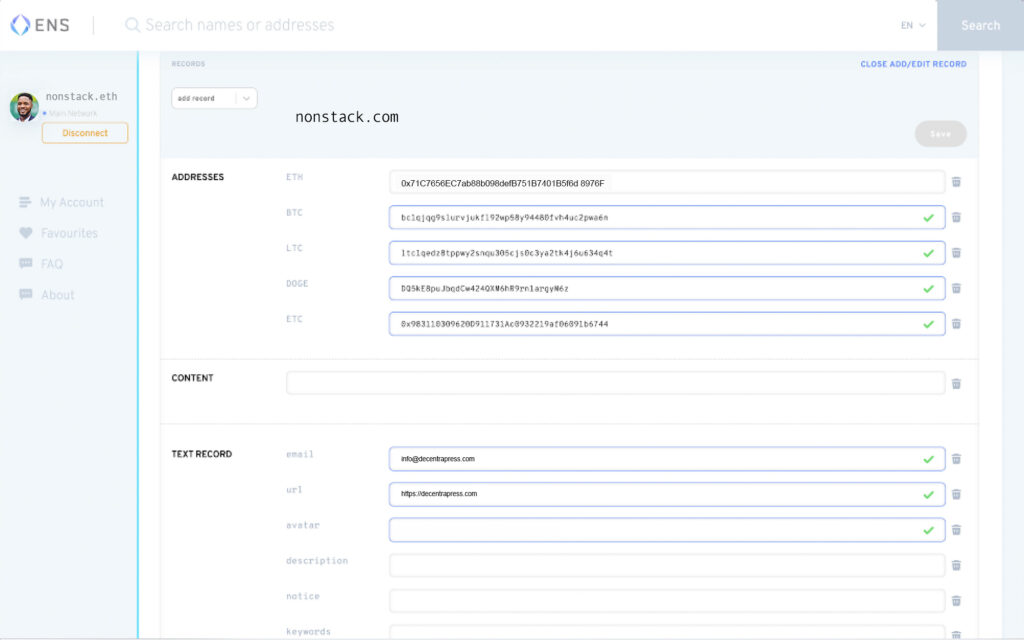
If you’d like to set other records, such as a BTC address or an avatar text record, click “Add/Edit Record”. Then fill in any records that you’d like.

If you want to make a record for something that doesn’t already have a field displayed by default, e.g. a cryptocurrency like ETC, then click the drop-down button “add record” and then next to it select the kind of record you’d like to create, then finally enter the data for the record and click “Save”
When you are done filling out all the records you want, scroll down to the button of the page and click on the “Confirm Button”. The ENS Manager App will show you the records you are setting and ask you to confirm again. Then your wallet will ask you to confirm to submit the transaction to set the records. Once your transcation is confirmed on the Ethereum network, your records will be set
Step 8: Set your reverse record
When you set your reverse record, you are simply choosing one of your ENS names as your Ethereum account’s cross-platform web3 username and you will automatically start seeing it show up in dapps
If you don’t already have a reverse record set and if you will love to set it to the name you just registered -Click “My Account” on the left-hand side of the page, select your name from the drop-down in the middle of the page, then click Save.
You will then be prompted by your wallet to confirm to submit the transaction.
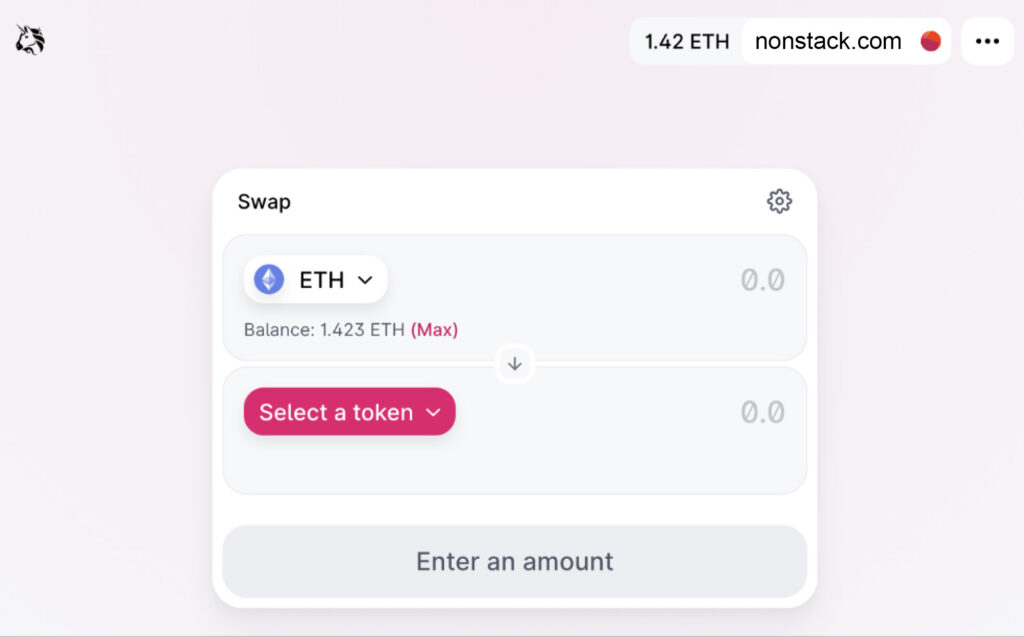
Once your reverse record is set and confirmed on the Ethereum network, visit app.uniswap.org and connect your wallet. You’ll see your name where the connect button was!
Congrats you have successfully imported and set up a DNS name to ENS.